
Log in to your library site and load the Management page by selecting 'Manage Library' or 'Librarian Only'.
Select 'Database' on the menu bar at the top of the page and then 'News'.
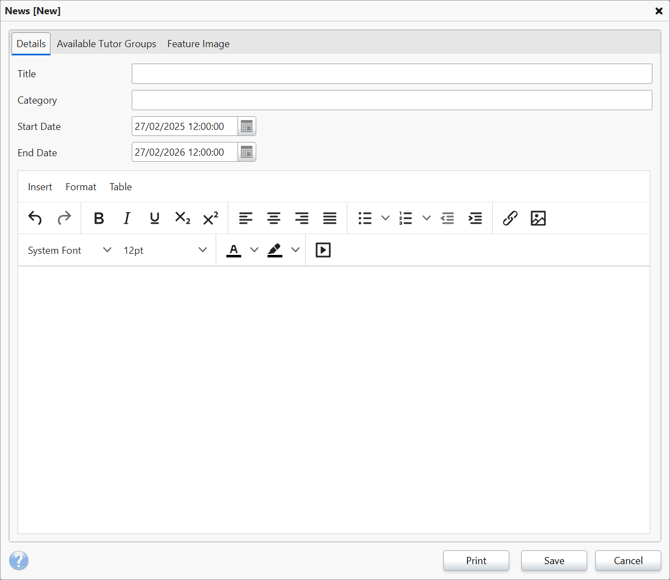
Click 'New' on the right-hand side, this will open a new record card where a news article can be created.
Start by giving your news article a title and a category, then set the date and time you would like the article to be posted and be automatically taken down.
Next, use the main body of the window to write the article, this editor allows for a variety of fonts, colours, sizes, hyperlinks to other pages, images and even videos to be added to article.
If you want this article to only appear for certain year/tutor groups, select the 'Available Tutor Groups' tab and set the groups by selecting them in the 'Available Tutor Groups' box on the left and pressing the arrow pointing to the right, this will move them into the 'Selected Tutor Groups' box on the right. Removing all groups from the right-hand box using the left pointing arrow will return it to 'All Groups'.

You can also add a feature image to the news article using the 'Feature Image' tab.
Adding a Feature Image
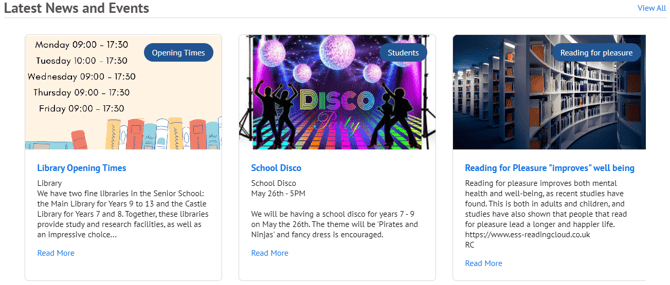
The feature image will display on the Homepage. This can be used to draw attention to specific articles, which you may find useful in promoting particular events or campaigns in the school.
To change this image, open the News Article you wish to amend in the News table. If you have not already created a news article, this should be done first.
With the Article record open, select the 'Feature Image' tab. Then, click the 'Upload' button.
Click the 'Select files...' option and choose the image you wish to add. You can also drag and drop your selected image into this box.
When uploaded, your selected image will show. This gives you a preview of how the image will display on the front page.
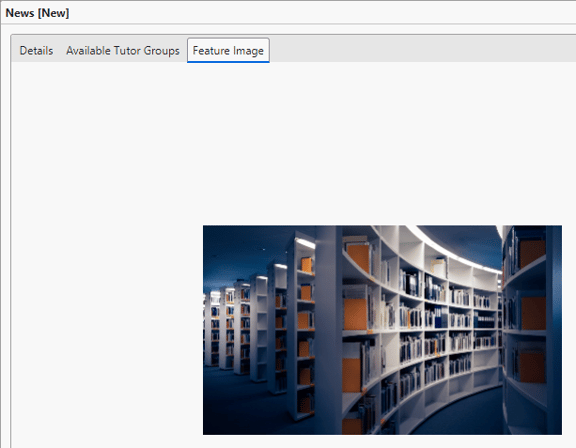
Any standard image format can be used (i.e JPG, PNG). Images should ideally be in a 16:9 aspect ratio, to match the rectangular display area. Images that are not in this ratio may not display correctly, and appear cropped. Check the image in this window to ensure it looks as you expect.
When you are happy with the image and the rest of the article, you can press save and this will update the article to include your selected image.
Get the most out of Reading Cloud with our flexible training packages delivered at a level and pace that suits your needs. Find out more.