
Purpose
To detail how the process of obtaining a CSV from your Identifier Provider (IDP) to enable a link between borrowers and their SSO account
Covers: Exporting a csv from your SSO provider
Does not cover: SSO Setup, Importing IDP CSVs
When to Do This
After selecting your identifier provider, and completing the initial SSO setup.
Instructions
There are multiple ways to link your borrowers to their SSO account, including using their email. If these options are not available to you, then this can be done by exporting a CSV from your provider. Please see the directions below for instructions for each of our available providers.
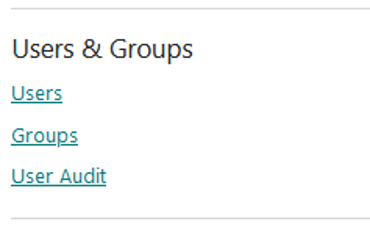
Log into RM Unify using admin credentials and click the 'Management Console' then under 'Users & Groups' click 'Users'.
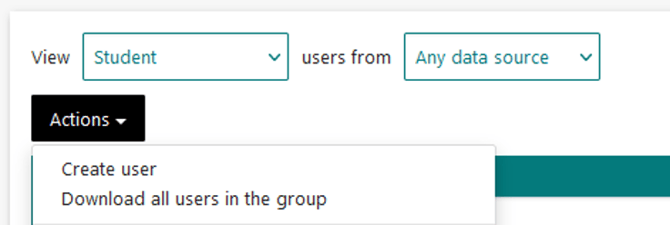
Next to 'View' select 'Student' then click 'Actions' and 'Download all users in the group' to download a CSV file into your Download folder.
Once the file has downloaded, it can be imported into the library system.
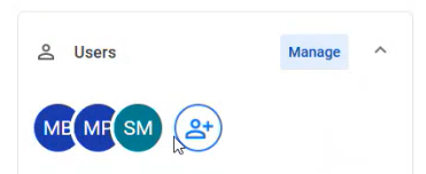
Log into the Google admin portal and click 'Manage' next to 'Users'
In the options at the top, select 'Download Users'. In the box that appears, select 'Comma-separated values (.csv)' and then 'Download'.
Once downloaded, this file can be imported into your library site.
Log into the Azure Portal here then search for 'Users', select 'Users' then 'All users'.
Select 'Download users'.

On the 'Download users' menu, enter a name for your file and click 'Start'.
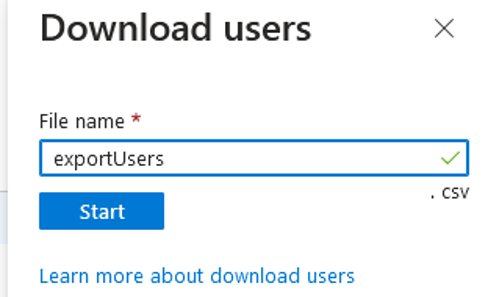
Wait for the confirmation box to show, you now have a CSV of all your user data. This can now be imported into your library site.
Exporting a CSV for MyLogin
The other option is to export a CSV of all your users from MyLogin. Log into your MyLogin account export a CSV of all your borrowers and their SSO data from User Overview.
The CSV must contain the headers:
MyLogin User ID, Type, First Name, Last Name, Email, Wonde API ID, Google ID, Microsoft ID (See example below).

Then open Management, load the Intake table and import the CSV, ensuring you select "MyLogin SSO" as the file type.
For more information about MyLogin SSO integration click the Banner below.
For specific questions in regards to MyLogin please use this link to the MyLogin Knowledgebase.
Once you have obtained your CSV, this can now be imported into Reading Cloud.
Importing a CSV from your Identifier Provider
Once you have selected your ID provider and setup the link between the library system and your ID provider, you will need to import a CSV from your ID provider to the library system. If you do not already have the CSV, you can export one from your ID provider, either Microsoft, Google, MyLogin or RM Unify.
Once you have the CSV, load the library system's Management page and load the Intake table by selecting 'Database' at the top of the page then 'Intake' from the list.
On the right-hand side, under 'Records', select 'Import'.
On the 'Import' box, select your ID provider, be it Azure AD, Google SSO or RM Unify. Then select 'Upload File'.
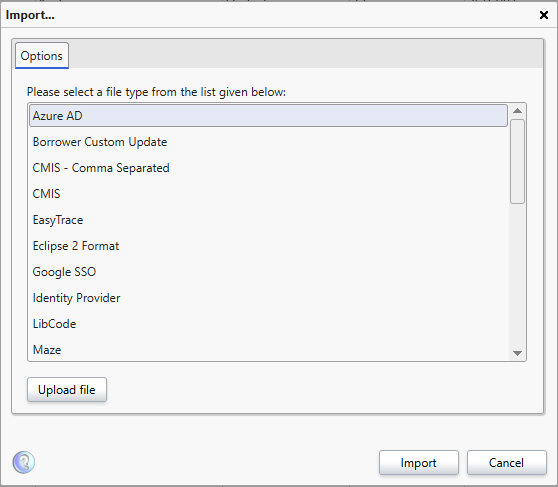
Drag and drop the CSV to this box or click on 'Select files...' and browse to the CSV.
Once the file has been uploaded, press 'Import' and the file will be imported to the intake table.
An auto matching routine will run and any borrowers that automatically match with existing borrowers will be automatically updated and removed from the intake table. If there are any borrowers it cannot match, they will be left in the intake table, you will then need to carry out the manual matching process to match these remaining borrowers.
Once complete and there are no borrowers in the intake table, your students are ready to log into the library system.
How some of our other customers have phrased this
- Where do I get a CSV from Google for my SSO?
- Export Azure sso details
- How do I link my RM Unify sso to borrowers?