
Tip: Streamline your student data management with Intake. Find out more here.
Purpose
This article provides comprehensive guidance on exporting student data exclusively from a RM Integris G2 database.
Covers: Clear, step-by-step instructions for exporting a CSV file from your RM Integris G2 database, including links to relevant Knowledge Base articles for importing your CSV file and guidance on adding any additional fields as required.
This section does not cover: The removal or archiving of former borrowers.
When to Do This
Start of academic year, before importing a CSV, moving tutor groups, or removing leavers.
Instructions
You can export a CSV file from RM Integris G2 which can be imported directly into the library system.
Log into the G2 student management information system as an administrator.
From the left-hand side of the main G2 display, click on the 'Reports' tab.
Click 'Administration' from the list in the upper box.
Expand the 'Exports' node and click on the 'Students for Library' report in the lower box.

From the 'Select Students by' box, choose 'Student Find'.
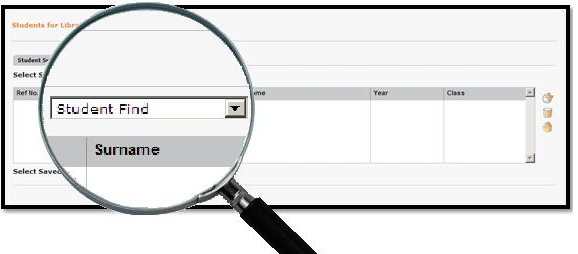
Click on the plus icon ![]() to be taken to the 'General Search' window.
to be taken to the 'General Search' window.
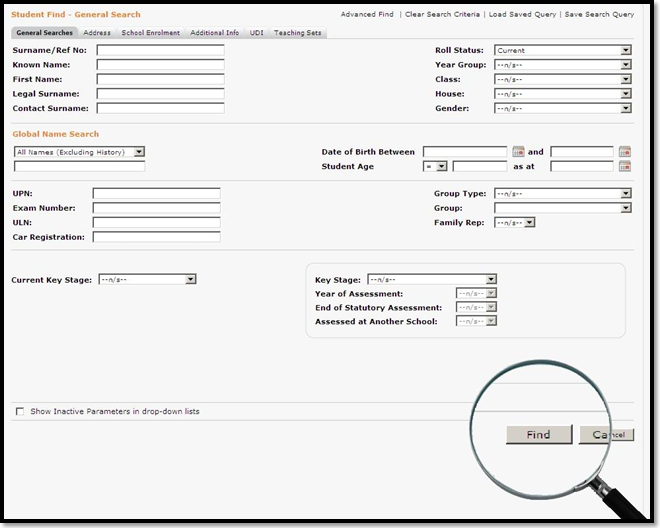
Click on the 'Find' button at the foot of the window.
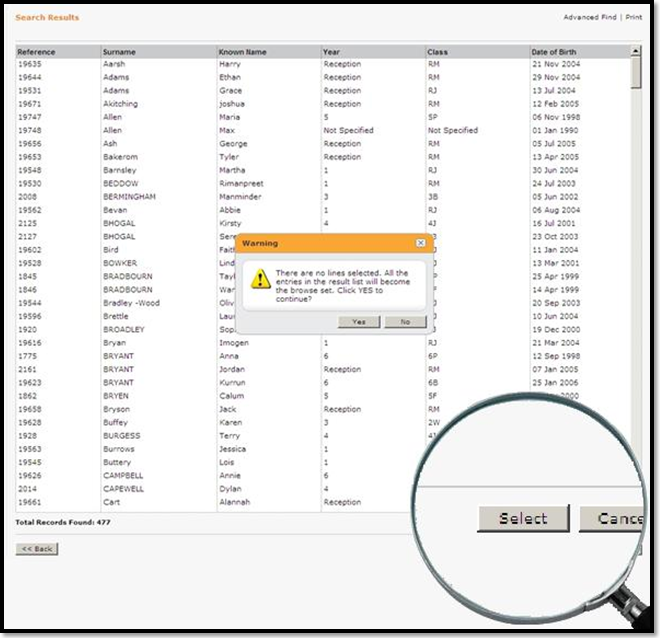
Click the 'Select' button at the foot of the window and answer 'Yes' to the warning dialogue box that appears.
Click on the 'Download Results' button at the foot of the window.
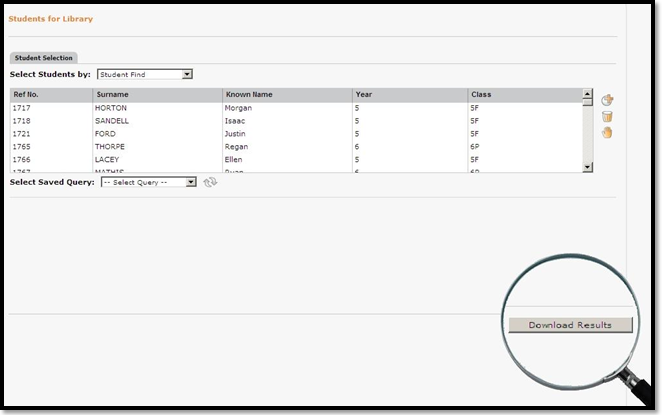
Click the 'Save' button in the dialogue box that follows. Change the filename to students.csv and choose where the file is to be saved.

Amending the CSV
When altering the headers, it is important that you do not use Excel and instead use Notepad.
Open the CSV file with 'Notepad' and rename the column headers:
- Student Date of Birth = DateOfBirth
- Year Group = YearGroup
- Student Reference = ManagementSystemID
- Class = TutorGroup
- Student Sex (M - Male, F - Female) = Gender
- Name: Surname = Surname
- Name: Forename = Forename
- Name: Known Name = Forename
- Student Address - Line 1 = Address1
- Student Address - Line 2 = Address2
- Student Address - Line 3 = Address3
- Student Address - Line 4 = Address4
- Student Address - Town = Address5
- Student Address - Post Code = Postcode
- Student Email Address = Email
If you are importing any additional fields with your CSV the headers will need to be changed to match the library system.
When you come to import the CSV file, select the 'WBLS' option when prompted.

Tips
- When editing the CSV, ensure that all headers are formatted as single words without spaces.
- Use Notepad or a similar text editor rather than Excel, as Excel may alter values due to formatting preferences.
- If you are unsure which management system ID number has been used previously, check the borrowers table and review the details within an individual borrower record.
How some of our other customers have phrased this
- I need to download new student details from RM Integris G2.
- I’m trying to pull borrower info from RM Integris G2.
- How do I get a CSV of students from RM Integris G2 for the library?
- How can I export my new intake for the library system?
Need Some Extra Help
If you are struggling with an issue please let the friendly Reading Cloud Service Team help. If you are using the chatbot and your issue is urgent, just say “Please transfer me for help”. Alternatively if you prefer you can email them with support@reading-cloud.com or give them a call on +44 (0) 330 822 5359.